A thin, gappy hedge is one of the most frustrating problems in any garden. You planted it for privacy, or you inherited one when you moved in, and now it is not doing its job. You can see through it, it looks patchy, and it is getting worse every year. The good news is that in most cases, a thin hedge can be thickened up, and you do not necessarily need to rip it out and start again.
We have been restoring thin and neglected hedges across Dundalk and County Louth for over 35 years. Here are six proven methods that work, along with honest advice on when each approach is the right one for your situation.
Why Do Hedges Thin Out?
Before you start fixing the problem, it helps to understand what caused it. A hedge that was once thick and healthy does not go thin without reason. Here are the most common causes:
Poor Shape
This is the number one reason. If a hedge is trimmed with vertical sides (or worse, wider at the top than the bottom), the lower branches get shaded out and die. Over time, the hedge becomes leggy and bare at the base while the top keeps growing. The fix is simple in theory: the base should always be wider than the top so that sunlight reaches every part of the hedge.
Infrequent Trimming
Fast-growing hedges like privet and leylandii need regular trimming to stay dense. If they are only cut once a year when they need two or three cuts, the growth becomes long and leggy rather than short and bushy. Each trim stimulates branching, so less trimming means fewer branches and a thinner hedge.
Age and Neglect
Hedges that have been neglected for years can become overgrown, woody, and bare in the middle. All the growth is concentrated at the tips, with dead, bare wood beneath. This is common with old privet, laurel, and especially leylandii.
Competition
If trees have grown up near the hedge, or if one section is shaded by a building, those shaded areas will thin out as the hedge cannot get enough light to sustain growth.
Pests, Disease, or Storm Damage
Occasionally, sections of a hedge die due to disease (such as honey fungus), pest damage, or physical damage from storms. This leaves gaps that the hedge cannot fill on its own.
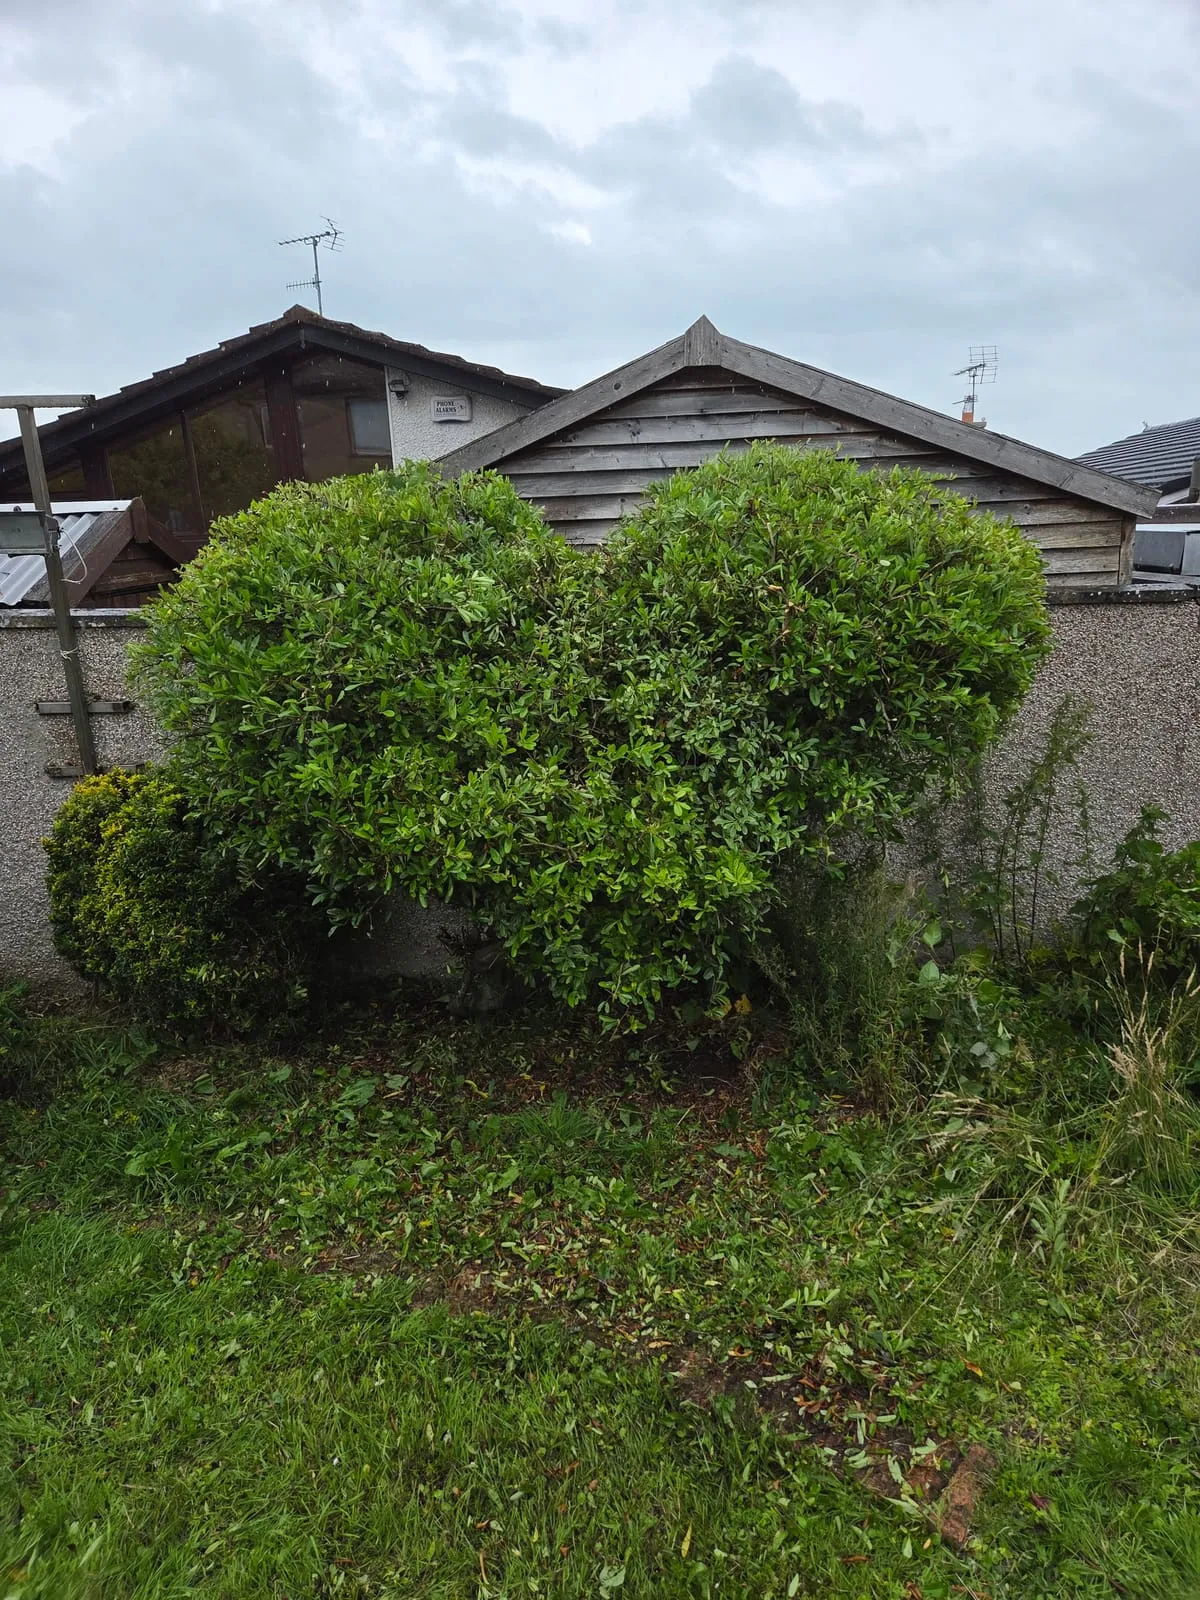
Method 1: Corrective Pruning (Reshape the Hedge)
Best for: Hedges that are thin at the base because of poor shaping
This is the simplest and most effective method for many thin hedges. If your hedge is wider at the top than the bottom, or has been trimmed with perfectly vertical sides, it needs reshaping.
How to Do It
- Cut the top back by 15-30cm to reduce shading on the lower branches
- Trim the upper portion of the sides more tightly than the lower portion, creating a gentle taper (wider at the base, narrower at the top)
- Leave the lower branches untrimmed for a season or two to allow them to fill out
- Repeat this shaping at each trim until the hedge has the correct tapered profile
This approach works on almost every hedge species. It is particularly effective on beech, hornbeam, privet, and griselinia. For laurel and leylandii, it works best if there is still some green growth on the lower branches. If the lower sections are completely bare and brown, you may need a more drastic approach.
Method 2: Hard Pruning (Cut It Back and Let It Regrow)
Best for: Overgrown, leggy hedges that have gone bare in the middle (NOT suitable for most conifers)
Hard pruning is the nuclear option, and it is remarkably effective on species that regenerate from old wood. You cut the hedge back severely, sometimes to bare stumps, and let it regrow from scratch.
Species That Respond Well to Hard Pruning
- Privet - Excellent. Will regrow vigorously from stumps.
- Cherry laurel - Excellent. One of the best at regenerating from bare wood.
- Portuguese laurel - Very good.
- Beech and hornbeam - Good, but takes longer to fill in.
- Hawthorn, blackthorn, hazel - Excellent. This is essentially what coppicing does.
- Yew - Very good. One of the few conifers that will regenerate from old wood.
Species That Will NOT Recover from Hard Pruning
- Leylandii - Will not regrow from brown wood. Do not hard-prune.
- Most other conifers (Lawson cypress, Thuja) - Very limited ability to regenerate from old wood.
How to Do It
- Time it for late winter (February to early March), before nesting season and before the growing season starts
- Cut one side hard back to the main stems, leaving the other side and the top intact
- Feed generously with a balanced fertiliser
- Water during dry spells in the following spring and summer
- Wait one growing season for the cut side to produce new shoots and leaves
- Cut the other side hard the following winter
- Begin regular maintenance trimming once the hedge has filled out
This two-year approach ensures the hedge always has enough leaf area to photosynthesise and support regrowth. Cutting both sides at once is riskier and can kill weaker plants.
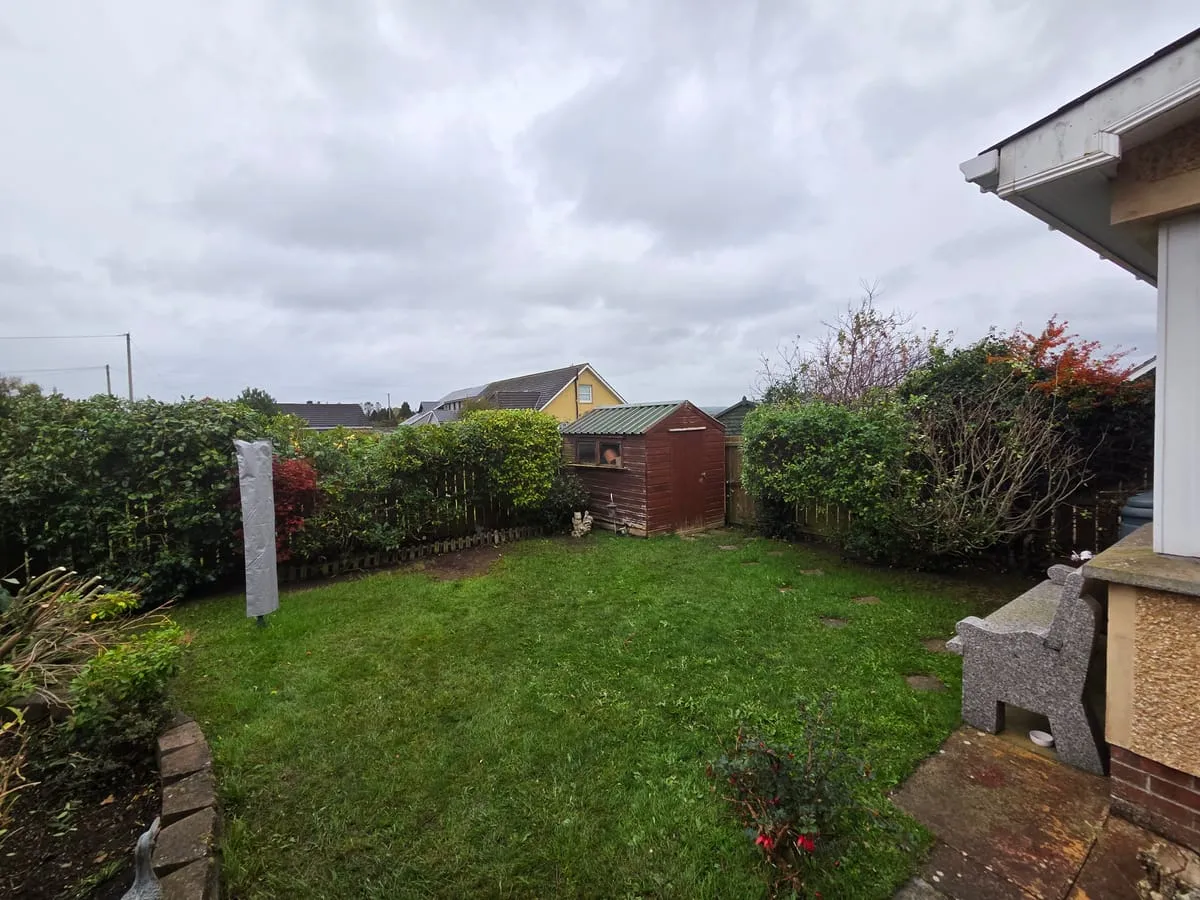
Method 3: Gap Filling (Plant Into Bare Spots)
Best for: Hedges with specific gaps where plants have died or sections have gone bare
Sometimes a hedge is thick in most places but has one or two obvious gaps. Rather than trying to coax the surrounding hedge to fill in, the simplest solution is to plant into the gap.
How to Do It
- Choose a plant of the same species and, if possible, a similar size to the surrounding hedge. Container-grown plants are best for gap-filling because they can be planted at any time of year
- Dig out any dead material from the gap, including old roots if you can
- Improve the soil in the gap with compost, as the ground will likely be depleted
- Plant the new addition and water it in well
- Cut back the branches of the surrounding hedge slightly to allow light to reach the new plant
- Protect the new plant from being smothered by the neighbours while it establishes
- Feed and water regularly in the first year
The new plant will take a season or two to knit in with the rest of the hedge. In the meantime, you can tie in neighbouring branches to help close the gap.
Method 4: Feeding and Mulching (Give It a Boost)
Best for: Hedges that are thin overall but still alive and green
Sometimes a hedge just needs a good feed. If it has been in the ground for years without ever being fertilised, the soil may be depleted, and the hedge simply does not have the nutrients to produce dense growth.
How to Do It
- Apply a generous dressing of balanced fertiliser (fish, blood, and bone or Growmore) along both sides of the hedge in early spring
- Follow up with a liquid feed (seaweed extract or liquid tomato feed) every 2-3 weeks through the growing season
- Mulch heavily with compost, bark chip, or well-rotted manure along the base of the hedge. A layer 5-8cm deep will suppress weeds, retain moisture, and slowly feed the soil
- Continue this regime for two to three years to build up soil fertility
You will often see a noticeable improvement within a single growing season. Combined with proper trimming to the correct shape, feeding alone can transform a thin hedge.

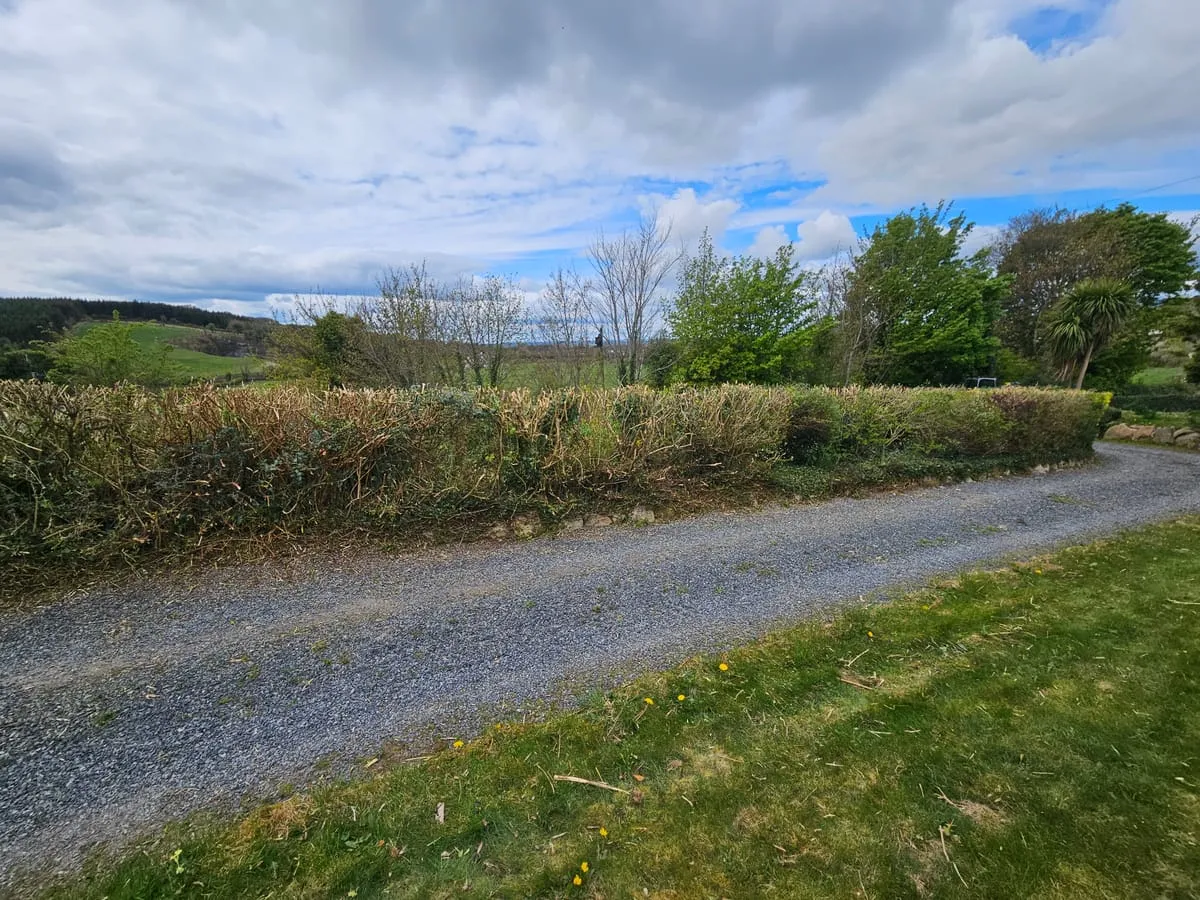
Method 5: Hedge Laying (Traditional Rejuvenation)
Best for: Native hedgerows (hawthorn, blackthorn, hazel) that have become tall, leggy, and thin at the base
Hedge laying is a traditional countryside skill that has been practised in Ireland for centuries. It involves partially cutting through the stems of a hedgerow near the base and laying them over at an angle, weaving them between stakes driven into the ground. This creates a thick, stock-proof barrier and stimulates a mass of new growth from the base.
How It Works
- The work is done in winter (November to February), when the plants are dormant
- Each stem is partially cut through near the base with a billhook or chainsaw, leaving a hinge of bark and wood intact
- The stem is then laid over at about 30-40 degrees and woven between upright stakes
- New shoots sprout from the laid stems and from the base, creating a thick, bushy hedge
- The laid hedge is trimmed regularly in subsequent years to maintain its shape
Hedge laying is a specialist skill, and it takes practice to do well. But the results are spectacular. A laid hedgerow is dense from the ground up, provides superb wildlife habitat, and looks beautiful. If you have a native hedgerow that has become tall and gappy, laying it is one of the best things you can do.
For more on native hedgerows and how to plant them, see our guide on native hedgerow planting in Ireland.
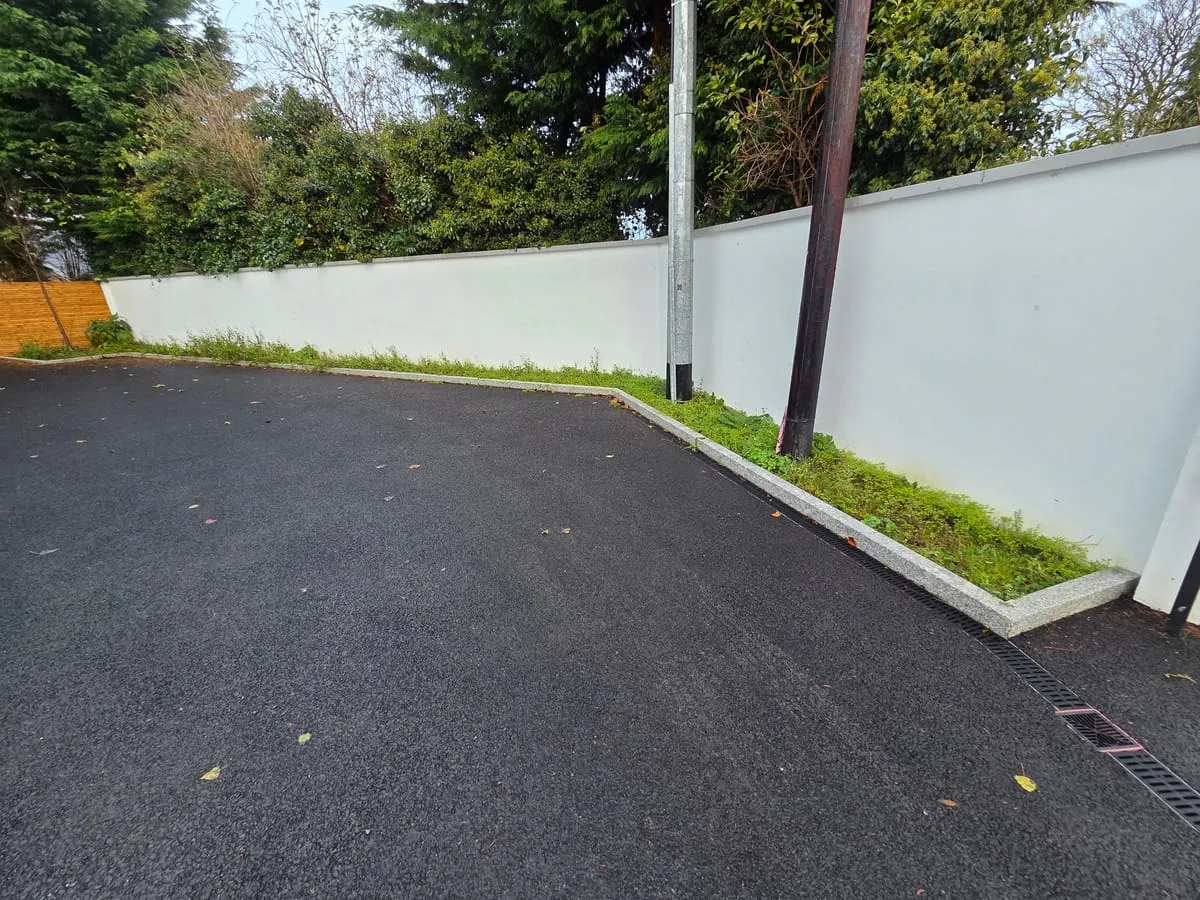
Method 6: Replanting (When All Else Fails)
Best for: Hedges that are too far gone to save, or where the wrong species was planted in the first place
Sometimes the honest answer is that the hedge needs to come out and be replaced. This is particularly true for:
- Leylandii that has gone bare and brown on the sides (it will not regenerate)
- Old hedges where most of the plants have died, leaving more gap than hedge
- Hedges planted in the wrong spot, such as a shade-loving species in full sun, or a plant that needs free-draining soil in heavy clay
The Replanting Process
- Remove the old hedge completely, including stumps and as much of the root system as possible
- Improve the soil thoroughly. After years of growing a hedge, the soil will be depleted. Dig in plenty of compost and well-rotted manure
- Choose the right species this time. Consider what went wrong with the old hedge and select something better suited to the conditions
- Plant at the correct spacing for the species
- Maintain properly from the start, with regular trimming, feeding, and watering in the first few years
It is a bigger job, but starting fresh with the right species and proper care will give you a hedge that looks good and stays thick for decades.
A Quick Guide: Which Method for Which Problem?
| Problem | Best Method |
|---|---|
| Thin at the base, still green | Corrective pruning (Method 1) |
| Overgrown and bare in the middle | Hard pruning (Method 2) |
| Specific gaps in an otherwise good hedge | Gap filling (Method 3) |
| Thin all over but alive | Feeding and mulching (Method 4) |
| Leggy native hedgerow | Hedge laying (Method 5) |
| Beyond saving | Replanting (Method 6) |
Frequently Asked Questions
How long does it take to thicken a thin hedge?
It depends on the species and the method used. Corrective pruning and feeding can show visible improvement within one growing season. Hard pruning takes 2-3 growing seasons to produce a fully dense hedge. Gap filling with new plants takes 1-2 years for the new plants to knit in. Hedge laying gives a thick hedge within a single growing season.
Can I thicken a leylandii hedge?
If the leylandii still has green growth on the thin sections, corrective pruning (reshaping so the base is wider) can help. If the lower sections are brown and bare, there is unfortunately no way to get them to regrow. In that case, you may need to consider underplanting with a shade-tolerant species or replacing the hedge entirely.
Will fertiliser alone thicken a thin hedge?
Fertiliser helps, but it is rarely enough on its own. You also need to address the underlying cause of the thinning, which is usually poor shaping or infrequent trimming. Feeding combined with correct pruning is the most effective approach.
Is it too late to save my hedge?
It is very rarely too late, except with conifers that have gone brown. Most broadleaf hedges (laurel, privet, beech, hawthorn) respond brilliantly to renovation, even from a very neglected state. We have brought back hedges that looked completely hopeless, so it is always worth a professional assessment before you decide to remove.
Need Help Thickening Your Hedge?
A thin hedge is a fixable problem, but the right approach depends on the species, the condition, and the cause. If you are not sure where to start, Seamus and Pete can take a look and recommend the best course of action. We provide professional hedge trimming, renovation, and planting services across Dundalk, Ardee, Blackrock, Carlingford, and all of County Louth. Call us on 085 168 5170 for a free assessment and quote.